How to Host a MERN Stack Application on a VPS
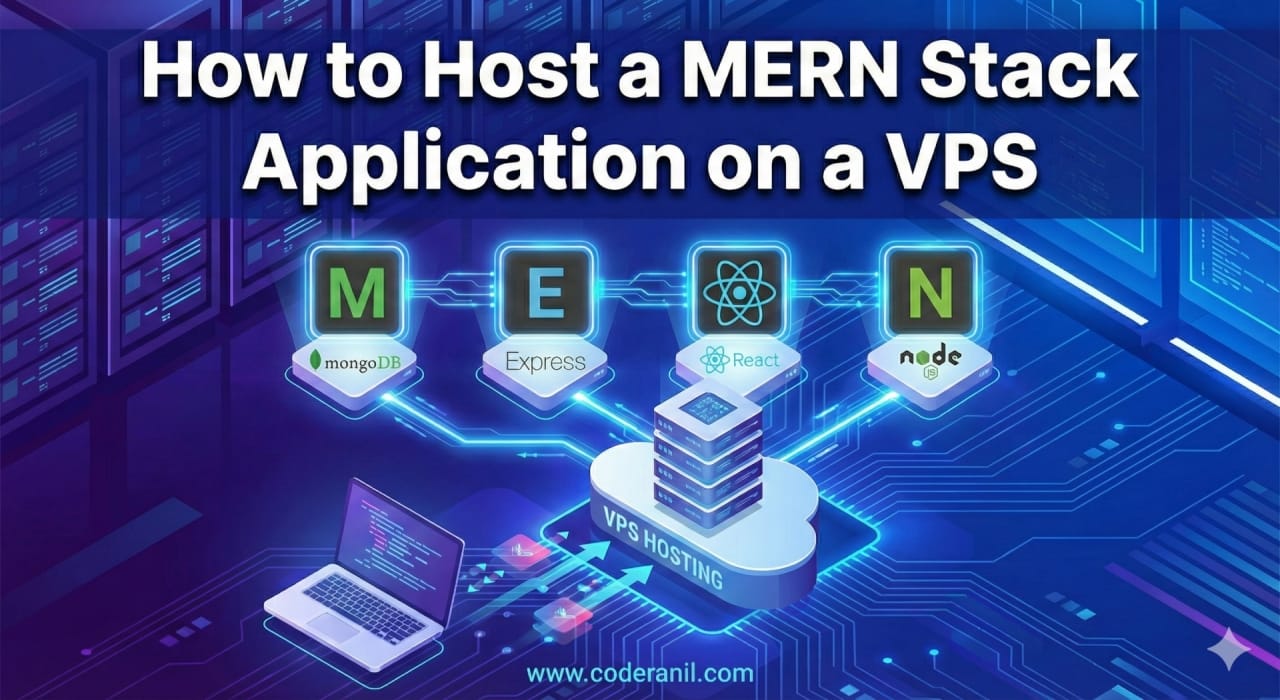
Building a full-stack application using MongoDB, Express.js, React, and Node.js is a massive milestone. But the real magic happens when you share your project with the world. If you are wondering how to host a MERN stack application on a VPS (Virtual Private Server), you are exactly where you need to be.
Using a VPS (like DigitalOcean, Linode, or AWS EC2) gives you complete root control over your environment, better performance, and lower costs compared to managed platforms.
In this comprehensive guide, we will walk you through the entire process of deploying your MERN app to an Ubuntu VPS, from pointing your domain to securing your site with HTTPS.
Prerequisites
Before diving into the terminal, ensure you have:
- A VPS running Ubuntu 20.04 or 22.04.
- Root or
sudoaccess to the server. - Your MERN application code pushed to a Git repository (e.g., GitHub, GitLab).
- A registered domain name.
Step 1: Point Your Domain to the VPS (DNS Configuration)
Before configuring web servers or SSL certificates, you need to connect your domain name to your server’s public IP address.
- Log in to your Domain Registrar: Go to the platform where you bought your domain (e.g., Namecheap, GoDaddy).
- Navigate to DNS Management: Look for “Advanced DNS” or “Name Server Settings.”
- Create an ‘A Record’:
- Type: Select
ARecord. - Host/Name: Enter
@(representing your root domain, likeyourdomain.com). - Value/Points To: Paste your VPS public IP address.
- TTL: Leave as Default or Automatic.
- Type: Select
- Create a ‘CNAME’ or secondary ‘A Record’ for WWW:
- Create an
Arecord with the host aswwwpointing to your VPS IP, OR create aCNAMErecord with the host aswwwpointing to@.
- Create an
Note: DNS propagation can take a few minutes to a few hours. Use a free tool like DNS Checker to verify your domain points to the correct IP.
Step 2: Connect to Your VPS and Update Packages
Open your terminal and connect to your server using SSH:
ssh root@your_server_ip
Once logged in, update your server’s package lists to ensure you install the latest software:
sudo apt update && sudo apt upgrade -y
Step 3: Install Node.js, NPM, and Git
To host a MERN stack application on a VPS, your server needs Node.js to run the backend and build the frontend. Install Node.js and Git:
					curl -fsSL https://deb.nodesource.com/setup_lts.x | sudo -E bash -
sudo apt-get install -y nodejs git
Verify your installations:
					node -v
npm -v
git --version
Step 4: Install and Configure MongoDB
If your app uses a local database rather than a cloud solution, install MongoDB directly on your VPS:
					sudo apt install mongodb
sudo systemctl start mongodb
sudo systemctl enable mongodb
Pro Tip: If you are using MongoDB Atlas, you can skip this step entirely! Just ensure your VPS’s IP address is whitelisted in your Atlas Network Access settings.
Step 5: Clone Your MERN Application
Navigate to the directory where you want to store your project (e.g., /var/www/) and clone your repository:
					cd /var/www/
git clone https://github.com/yourusername/your-mern-repo.git
cd your-mern-repo
Step 6: Set Up the Node.js Backend with PM2
If your SSH session closes, a standard Node server will stop. To keep it running permanently in the background, use PM2, a production process manager.
					cd /var/www/
git clone https://github.com/yourusername/your-mern-repo.git
cd your-mern-repo
- Install PM2 globally:
sudo npm install pm2 -g
- Install backend dependencies:
					cd backend
npm install
- Set your environment variables:
					nano .env
(Paste your database URIs, JWT secrets, and PORT here, then save and exit).
- Start your server:
					pm2 start server.js --name "mern-backend"
pm2 save
pm2 startup
Step 7: Build the React Frontend
Now, let’s prepare the React frontend by creating an optimized static build.
- Navigate to your frontend directory:
					cd ../frontend
npm install
- Create the production build:
npm run build
This generates a build or dist folder containing your optimized HTML, CSS, and JS files.
Step 8: Configure Nginx as a Web Server & Reverse Proxy
Nginx is incredibly fast and will act as the middleman—serving your static React frontend while routing API requests to your Node.js backend.
- Install Nginx:
sudo apt install nginx -y
- Create a new configuration file:
sudo nano /etc/nginx/sites-available/mern-app
- Paste the following Nginx block (Replace
yourdomain.comand the file paths with your own):
					server {
    listen 80;
    server_name yourdomain.com www.yourdomain.com;

    # Serve React Frontend
    location / {
        root /var/www/your-mern-repo/frontend/build;
        index index.html index.htm;
        try_files $uri $uri/ /index.html;
    }

    # Reverse Proxy for Node.js Backend API
    location /api/ {
        proxy_pass http://localhost:5000/; # Replace 5000 with your backend port
        proxy_http_version 1.1;
        proxy_set_header Upgrade $http_upgrade;
        proxy_set_header Connection 'upgrade';
        proxy_set_header Host $host;
        proxy_cache_bypass $http_upgrade;
    }
}
- Enable the site and restart Nginx:
					sudo ln -s /etc/nginx/sites-available/mern-app /etc/nginx/sites-enabled/
sudo nginx -t
sudo systemctl restart nginx
Step 9: Secure Your App with SSL (HTTPS)
Search engines penalize non-secure sites. Securing your app with an SSL certificate is mandatory for production. We will use Certbot for a free Let’s Encrypt certificate.
					sudo apt install certbot python3-certbot-nginx -y
sudo certbot --nginx -d yourdomain.com -d www.yourdomain.com
Follow the on-screen prompts. Certbot will automatically alter your Nginx file to route all HTTP traffic to secure HTTPS.
- Enable the site and restart Nginx:
					sudo ln -s /etc/nginx/sites-available/mern-app /etc/nginx/sites-enabled/
sudo nginx -t
sudo systemctl restart nginx
Frequently Asked Questions (FAQs)
Hosting a MERN stack on a VPS offers much more control and is generally more cost-effective as your application scales. While Platforms as a Service (PaaS) are incredibly easy for beginners, they limit your background processes and become expensive quickly. A VPS gives you dedicated resources and total freedom.
For a small to medium-sized MERN application, a VPS with 1GB to 2GB of RAM is usually a good starting point. Node.js and MongoDB can run on 1GB, but if your database grows or your app sees heavy traffic, upgrading to 2GB or 4GB prevents out-of-memory crashes.
Simply SSH into your server, navigate to your project folder, and pull the latest code using git pull.
If you changed the backend, restart the process:
pm2 restart mern-backend.If you changed the frontend, rebuild the static files:
npm run build.
No. Many developers prefer a managed cloud database like MongoDB Atlas. This separates your database from your web server, improving performance and simplifying backups. Just paste your Atlas connection string into your VPS backend’s .env file.
Conclusion
Congratulations! You have successfully learned how to host a MERN stack application on a VPS. By pointing your domain, configuring Node.js with PM2, serving React files with Nginx, and securing your site via Let’s Encrypt, you have built a fast, robust, and production-ready environment for your users.