How to Create a React Project with Vite
Vite is a modern and fast build tool that provides an optimized development experience. It’s designed to work with modern JavaScript frameworks, including React. Vite offers lightning-fast hot module replacement (HMR), a simplified configuration, and faster builds compared to traditional bundlers like Webpack.
In this article, we will guide you through creating a React project using Vite, step by step.
Step 1: Install Node.js
Before we begin, ensure you have Node.js installed on your system. Vite requires Node.js version 12.0.0 or higher. You can download the latest version of Node.js from the official website: https://nodejs.org.
To verify the installation of Node.js, run the following commands in your terminal:
node -v
npm -v
You should see the installed version numbers for Node.js and npm.
Step 2: Create a New React Project with Vite
Vite provides a command-line interface (CLI) that makes it very easy to set up a React project. To create a new React app with Vite, follow these steps:
- Open Terminal or Command Prompt
Open your terminal or command prompt in the directory where you want to create your new React project. - Run the Create Vite Command
Usenpm createoryarn createto set up your new React project. Run the following command in your terminal:npm create vite@latest my-react-app --template reactThis command does the following:npm create vite@latest: Ensures you’re using the latest version of Vite.my-react-app: The name of your project folder.--template react: Specifies that you want to create a React project.
yarn create vite@latest my-react-app --template react - Navigate to the Project Folder
After Vite sets up your project, navigate to the newly created directory:cd my-react-app
Step 3: Install Dependencies
Once inside the project directory, run the following command to install the necessary dependencies:
npm installor if you are using Yarn:
yarnThis command installs React, React-DOM, and Vite dependencies.
Step 4: Start the Development Server
Vite provides an optimized development server with hot module replacement (HMR), which allows you to see your changes instantly in the browser without refreshing the page.
Start the development server by running:
npm run devor if you are using Yarn:
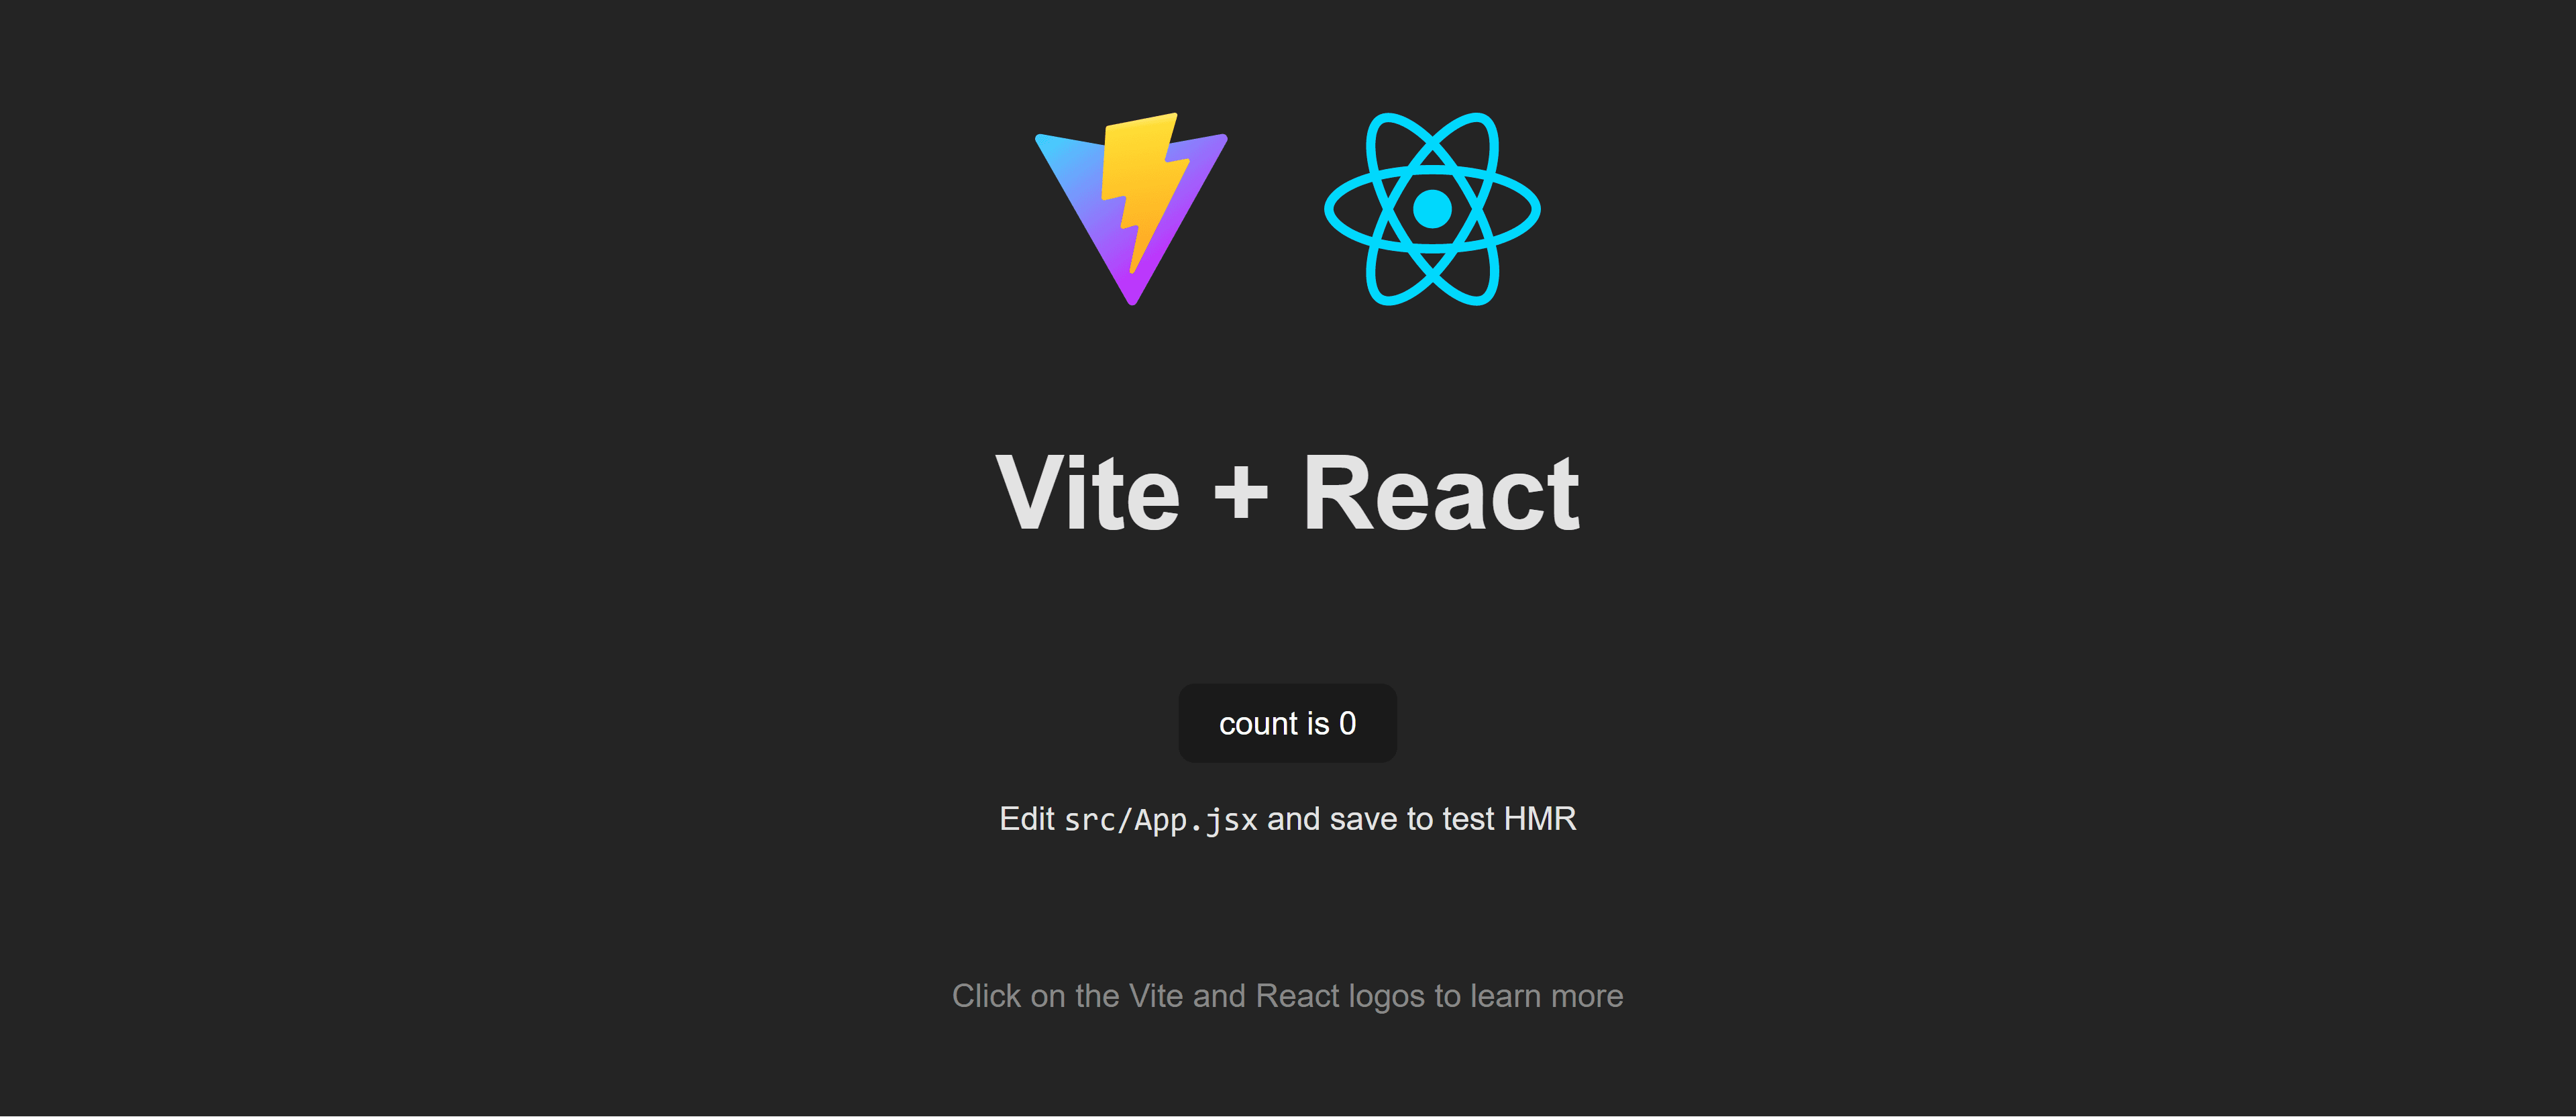
yarn devThis will start a local server and provide you with a URL like http://localhost:5173/. Open this URL in your browser, and you should see your new React app running!
Step 5: Explore the Project Structure
After creating the project with Vite, here is an overview of the important files and folders:
index.html: The main HTML file for the app. It’s located in the root of your project. Vite uses this file as the entry point for the application.src/: This is where your React components and source code are located. By default, it contains:src/main.jsx: The entry point for your React application. This file renders theAppcomponent into the DOM.src/App.jsx: A sample React component that Vite generates for you. You can edit this file to start building your app.
vite.config.js: Vite’s configuration file. This file contains project-specific configuration for building and running your project. You can customize it as needed.node_modules/: This folder contains all the installed dependencies.package.json: This file contains information about your project, including dependencies, scripts, and other settings.
Step 6: Modify the React App
To start building your app, edit the default App.jsx file inside the src/ folder. For example, you can change the content inside src/App.jsx to display a custom message:
function App() {
  return (
    <div>
      <h1>Hello, Vite + React!</h1>
      <p>Welcome to your Vite-powered React app.</p>
    </div>
  );
}

export default App;
After saving the file, the browser should automatically update with your changes, thanks to Vite’s hot module replacement (HMR).
Step 7: Build the Project for Production
Once you’re happy with your React app and ready to deploy it, you can build a production-ready version. Vite optimizes the app for performance and minifies the JavaScript and CSS files.
To build your project for production, run the following command:
npm run buildor if you are using Yarn:
yarn buildThis will create a dist/ folder containing the optimized files, ready to be deployed to a web server or hosting service.
Step 8: Serve the Production Build Locally
If you want to preview the production build locally before deploying it, you can use Vite’s built-in preview command. Run:
npm run previewor if you are using Yarn:
yarn previewThis will serve your production build locally at http://localhost:5000.
Step 9: Customize and Add More Features
Vite is highly customizable and supports various plugins to extend its functionality. You can add features like:
- ESLint and Prettier for code linting and formatting.
- React Router for routing in your app.
- SASS/SCSS for advanced styling capabilities.
- TypeScript for better type-checking and autocompletion.
To install React Router for example, run:
npm install react-router-domThen, you can import and use the router in your app like so:
import { BrowserRouter as Router, Route, Switch } from 'react-router-dom';

function App() {
  return (
    <Router>
      <Switch>
        <Route exact path="/" component={HomePage} />
        <Route path="/about" component={AboutPage} />
      </Switch>
    </Router>
  );
}
Creating a React project with Vite is simple and provides a fast, optimized development experience. With Vite’s lightning-fast hot module replacement (HMR) and efficient build process, you can focus on building your app without worrying about slow build times or complex configurations.
Now you have the foundation to start building your React app with Vite! You can expand on this project by adding new features, connecting it to APIs, and deploying it to production.
Happy coding!